 All you need is 2 pieces of green construction paper, tape, a stapler and scissors. Cut the paper to the length you want the skirt to be. Then make slits all around the paper at different lengths (but if you do it too much you'll snip the skirt in two). Do it with both pieces of paper, then tape them together. Make sure they're both the same length. Next, get your doll and put the skirt around her waist. Tape or staple the edges together. Mine lasted for a while and never broke, but I misplaced it and still am not sure where it is.
Sunday, March 20, 2011
Hula Skirt for Dolls
All you need is 2 pieces of green construction paper, tape, a stapler and scissors. Cut the paper to the length you want the skirt to be. Then make slits all around the paper at different lengths (but if you do it too much you'll snip the skirt in two). Do it with both pieces of paper, then tape them together. Make sure they're both the same length. Next, get your doll and put the skirt around her waist. Tape or staple the edges together. Mine lasted for a while and never broke, but I misplaced it and still am not sure where it is.Wednesday, January 26, 2011
Decorate your Own Bag
Here is a fun craft that's super easy and great for birthday parties.
All you need is a blank white fabric bag and a set of fabric markers, which you can buy at any craft supply store. The girls at my sister's birthday party loved the craft, and enjoyed decorating their bags.

All you need is a blank white fabric bag and a set of fabric markers, which you can buy at any craft supply store. The girls at my sister's birthday party loved the craft, and enjoyed decorating their bags.

Desk Organizer
To make this organizer for your desk, you will need:
- Two or three empty paper towel rolls
- Any kind of school glue
- Colored or white construction paper
- Scissors
1. Start by cutting the paper towel rolls into four pieces. Try making them at different heights and have the top rims slanted. Decorate them with the markers. I used cream colored tape to decorate the top slanted edges.

2. Cut the piece of cardboard into a rectangle if you haven't already. Make sure it's the right size to fit all four rolls. Cover it with construction paper. If you are using a shoe box, cut it so that the back side is tall and the front is lower. The other sides should slant down.

3. Glue the bottom rims to the cardboard and let dry. Make sure they are fully dry before putting any pens and pencils in the holders.
[Optional: In the picture above, you can see a glue stick I decorated with tape and markers as well as a tiny cup for loose coins - you can try these too if you'd like.]

Here is a picture of the organizer sitting on my desk - with the pens and pencils in it.

- Two or three empty paper towel rolls
- Any kind of school glue
- Colored or white construction paper
- Scissors
- Marker or colored pencils
- Tape
- Any small piece of cardboard.
(I used an empty shoe box)
1. Start by cutting the paper towel rolls into four pieces. Try making them at different heights and have the top rims slanted. Decorate them with the markers. I used cream colored tape to decorate the top slanted edges.

2. Cut the piece of cardboard into a rectangle if you haven't already. Make sure it's the right size to fit all four rolls. Cover it with construction paper. If you are using a shoe box, cut it so that the back side is tall and the front is lower. The other sides should slant down.

3. Glue the bottom rims to the cardboard and let dry. Make sure they are fully dry before putting any pens and pencils in the holders.
[Optional: In the picture above, you can see a glue stick I decorated with tape and markers as well as a tiny cup for loose coins - you can try these too if you'd like.]

Here is a picture of the organizer sitting on my desk - with the pens and pencils in it.

Magazine Binder
I got this idea a few days ago when I was looking though my ginormous stack of American Girl magazines, which I hadn't read in months. Since there were only a few sections in each magazine that I liked, I decided to make a binder of my favorites.

1. Carefully tear or cut out the pages that you want.

2. Slide them into page protectors (you can buy these at any office supply store) and put them in a binder.

3. I made a fun cover for mine -- but it's optional.

Now you've got your own magazine binder to look through whenever you want!


1. Carefully tear or cut out the pages that you want.

2. Slide them into page protectors (you can buy these at any office supply store) and put them in a binder.


Now you've got your own magazine binder to look through whenever you want!


Friday, August 13, 2010
Your Own U Shirt

This is an easy way to design your own shirt with any logo or design you want. I used an old shirt and a fabric scrap I got at a rummage sale. It may fray at the edges, but that's all part of the look.
 |
| Print your favorite U logo on paper and cut it out, trace it onto your fabric. |
 |
| Cut the U out and trace it, centering it in the circle. This is a fabric marker that washes off. If you don't have a fabric marker use a pencil. |
 |
| Cut the U out by cutting a slit inside the U and carefully around it. |

 |
| Pin it to your shirt where you like. I covered up an old stain with mine! |
 |
| With the zig-zag stitch, start in the middle. Use different sizes of zig-zag if you have smaller spaces. |
 | |||||||
| When you need to turn your shirt while sewing, keep the needle down to hold it in place, but lift the pedal. Remove pins as you get close to them. |
 |
| Don't worry if it bunches up or isn't straight, it's homemade! |
Thursday, June 3, 2010
Gallery
As the grandchildren have grown in numbers, I have found the space on top of a bookcase in the "grandma room" where I keep framed pictures of all the "granchies" is gone, baby, gone. So, I thought and I thought and then I thought some more, and here's what I came up with....

For those of you who have been in the grandma room, you will recognize this wall as the hand print wall.
Above the hand prints I installed 4 "grundtal" magnetic knife racks from IKEA. They're actually meant to be used in the kitchen. But, since I never do anything like a normal person, I used them as picture holders. I bought el cheapo frames (about a buck a piece) and glued metal washers on the back. This way, I can change pictures as often as my mood changes, and I can rearrange them or hang them crooked or upside down or whatever. I like it.

Friday, April 2, 2010
How to Make a Wallet
 Wallets are one of my favorite crafts to make! I've made so many, and they're so much fun. They take about a half hour to an hour to make, depending on the experience you've had at wallet-making.
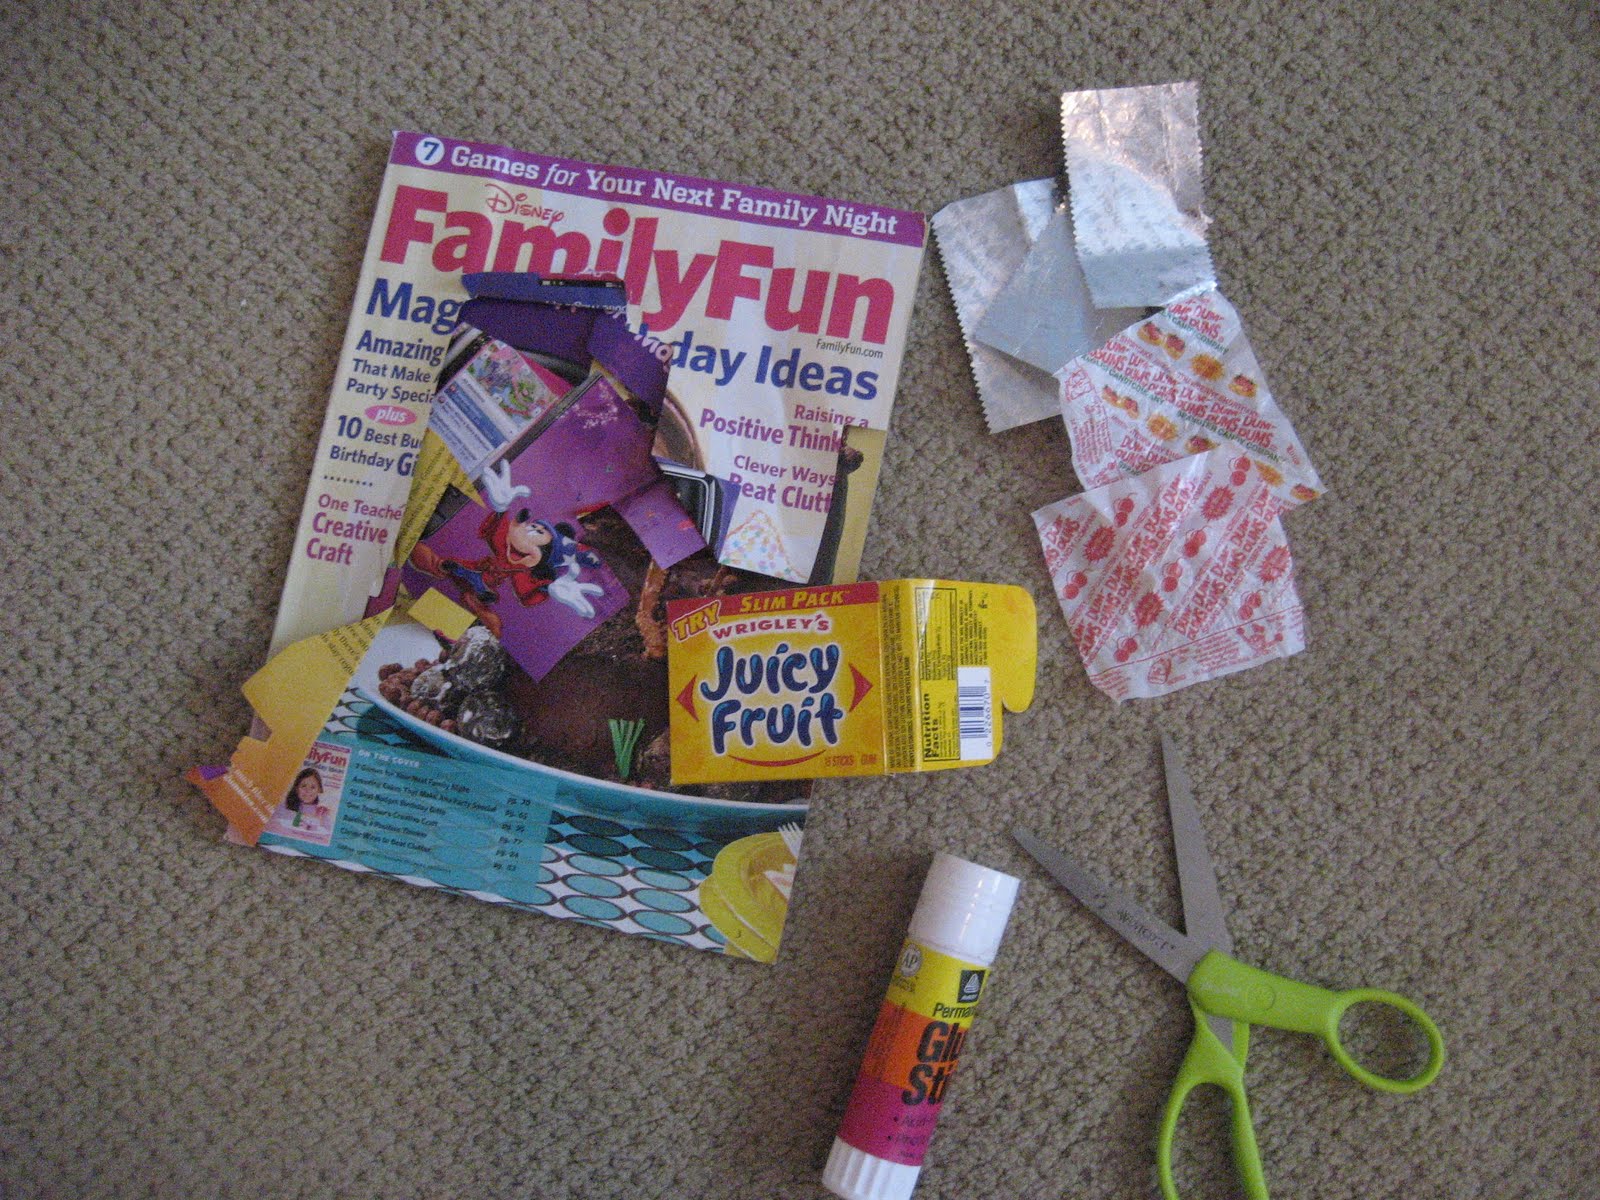
To start, make sure that you have all the materials that you need. You should have:
-a piece of plain white printer paper
-laminating paper
-scissors
-a ruler
-glue stick
-magazines, old books, candy wrappers, patterned paper, etc.
-tape
-velcro dots
 1. Take the piece of paper, laying it in landscape position, and fold it about 3 1/2 inches over. Cut the extra paper off the side, so that when you unfold the paper it has a line going through the middle.
 This is how it should look after you've cut it.
2. To have the plan written out for where to put your decorations on the wallet, fold it like a brochure, while still folded in half as seen above. Leave about one or two centimeters of space between the folds. It should have three different columns when opened up, and should look like this. Then unfold the paper so that it has six squares - three columns, two rows.

3. Cut out, in squares, different patterns, pictures, letters and shapes from magazines, or whatever paper material you want to use (I used gum wrappers for mine). Start to lay them out in the spots you want them on your wallet.
Tip: On your paper (after folded), keep in mind that the top right square is the front, the top middle square is the back, and the top left square is on the inside.
4. Glue the pieces of paper to your wallet, leaving as little white space as possible.
Tip: Only glue them to the top row of squares on the paper - it's the only part that will show on your wallet.

5. Laminate both sides of the wallet and cut the excess lamination paper, leaving a small border of laminating paper around the edge.

6. Fold the paper back in half, as shown in the third picture of step one. Take a piece of tape and put it halfway over the edge of the wallet. Flip it over and press it over the other side, so it makes a pocket, and do the same to the other side edge. Don't do it to the top - that's where you'll stick your money in.

7. Put velcro on the back of the front flap as shown, also putting the opposite one on the other side so they match up.

Ta-da! You've finally completed a wallet!

These are my best wallets. They are great to keep extra dollar bills in, sell at fundraisers or garage sales, or keep lunch money in at school!
Subscribe to:
Posts (Atom)


