Wallets are one of my favorite crafts to make! I've made so many, and they're so much fun. They take about a half hour to an hour to make, depending on the experience you've had at wallet-making.
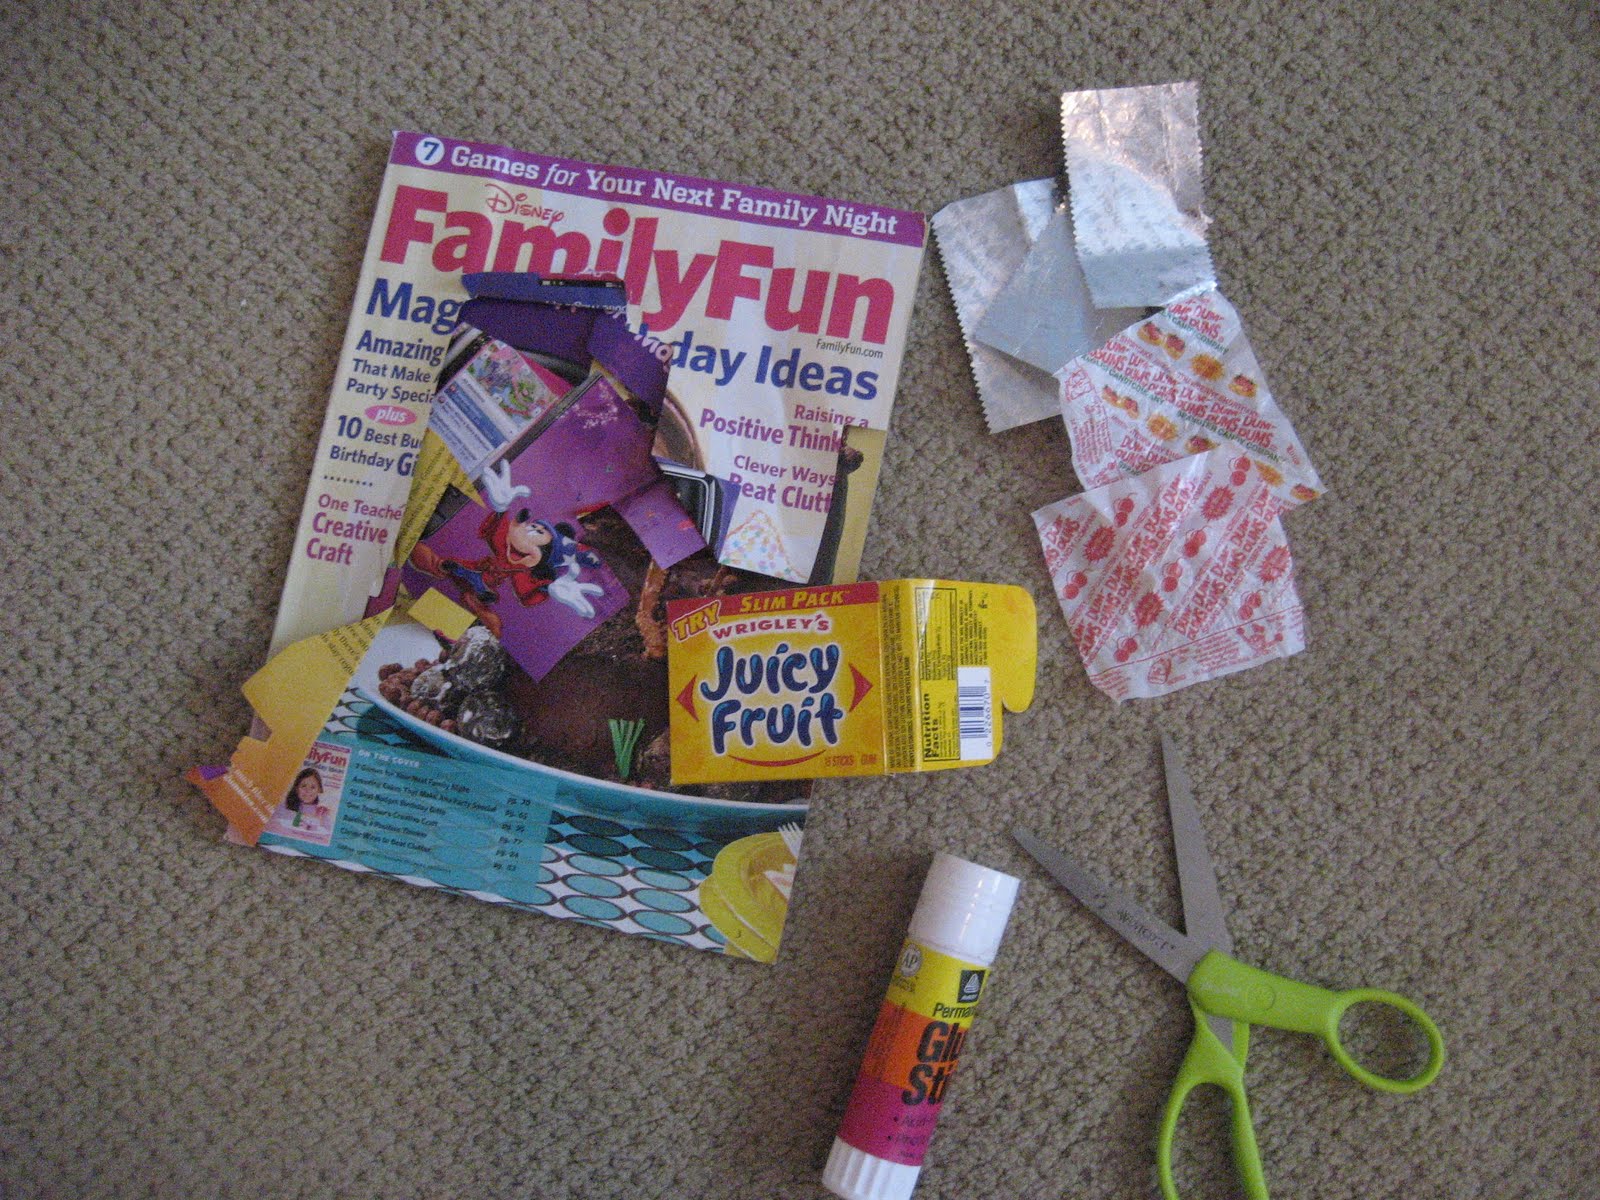
To start, make sure that you have all the materials that you need. You should have:
-a piece of plain white printer paper
-laminating paper
-scissors
-a ruler
-glue stick
-magazines, old books, candy wrappers, patterned paper, etc.
-tape
-velcro dots

1. Take the piece of paper, laying it in landscape position, and fold it about 3 1/2 inches over. Cut the extra paper off the side, so that when you unfold the paper it has a line going through the middle.


This is how it should look after you've cut it.

2. To have the plan written out for where to put your decorations on the wallet, fold it like a brochure, while still folded in half as seen above. Leave about one or two centimeters of space between the folds. It should have three different columns when opened up, and should look like this. Then unfold the paper so that it has six squares - three columns, two rows.

3. Cut out, in squares, different patterns, pictures, letters and shapes from magazines, or whatever paper material you want to use (I used gum wrappers for mine). Start to lay them out in the spots you want them on your wallet.
Tip: On your paper (after folded), keep in mind that the top right square is the front, the top middle square is the back, and the top left square is on the inside.

4. Glue the pieces of paper to your wallet, leaving as little white space as possible.
Tip: Only glue them to the top row of squares on the paper - it's the only part that will show on your wallet.

5. Laminate both sides of the wallet and cut the excess lamination paper, leaving a small border of laminating paper around the edge.

6. Fold the paper back in half, as shown in the third picture of step one. Take a piece of tape and put it halfway over the edge of the wallet. Flip it over and press it over the other side, so it makes a pocket, and do the same to the other side edge. Don't do it to the top - that's where you'll stick your money in.

7. Put velcro on the back of the front flap as shown, also putting the opposite one on the other side so they match up.

Ta-da! You've
finally completed a wallet!

These are my best wallets. They are great to keep extra dollar bills in, sell at fundraisers or garage sales, or keep lunch money in at school!